
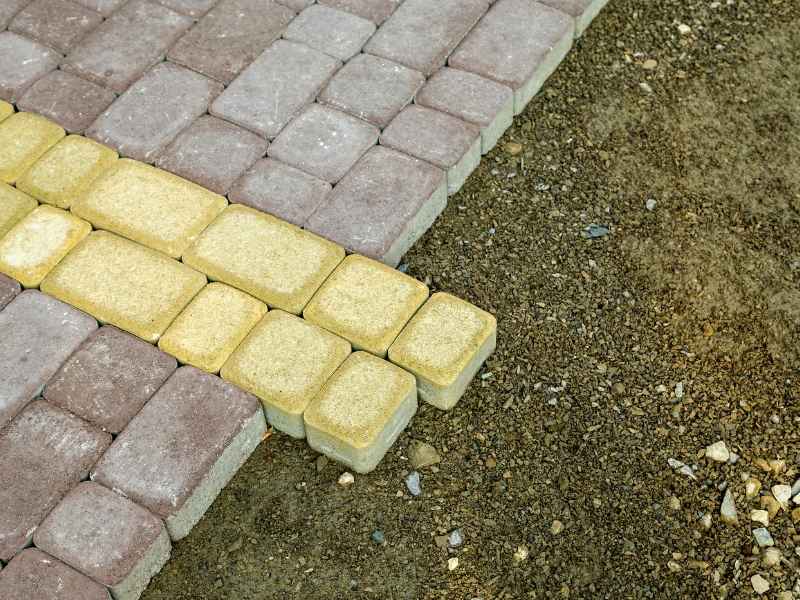
A brick patio expansion works well when the slab is sound and the new pavers meet it at the right height, with water draining the right way. Plan those details before digging, and the old and new surfaces will look and perform like one space. Plenty of homes came with a concrete slab just big enough for a grill and two chairs. Tearing it out can feel wasteful, and building around it is a smart way to gain space.
Assessing the Existing Concrete Slab Before Brick Patio Expansion
Start by deciding whether the slab is worth keeping. Hairline shrinkage cracks are normal and usually harmless. Wide cracks, sections that have sunk or lifted, and edges that crumble point to deeper problems that new brick won’t fix.
Check how the slab sits. Lay a level on it and see which way it slopes, and measure its height against the door threshold and the weep holes in nearby brick walls. A slab that slopes toward the house or sits too high against the wall can cause water problems no matter what you build around it.
If the slab is solid but you don’t love the look, you have options. Some homeowners have thin brick pavers mortar-set over a sound slab so the whole space matches. That only works on concrete in good condition, so have your mason evaluate it first.
Planning Brick Patio Dimensions and Layout Around the Slab
Think about how you’ll use the bigger space. Many homeowners keep dining on the slab and add seating, a fire feature, or a walkway connection on the new pavers. Defining zones helps the expansion feel planned instead of tacked on.
Shape the addition to fit the yard. You can wrap the slab on one, two, or three sides, extend it in a single direction, or add curves that soften a rectangular slab. Leave enough depth for furniture plus walking room, and connect the edges to gardens, an outdoor kitchen, or a path to the side gate.
Pattern choice affects the look and the labor. Herringbone and basketweave read as traditional, while running bond is simpler and often costs less to install. A border course, such as a row of bricks set on end or lengthwise, can frame the slab and tie the old and new areas together visually.
Preparing the Base for New Brick Patio Pavers
The base is where pavers either last or fail. Excavation removes soil to a depth that allows for compacted aggregate, a bedding layer, and the pavers themselves. The right depth varies with soil conditions, drainage, and expected use, so ask your contractor to explain the plan.
Height has to match the slab. The finished paver surface should meet the concrete edge flush, which means planning base depth around the slab’s thickness and elevation. Getting this wrong leaves a lip that people trip over and water pools against.
Dig carefully along the slab edge. Undercutting the concrete removes the soil supporting it and can lead to cracked or sinking edges. Edge restraint on the open sides of the new pavers keeps them from creeping outward over time.
Managing Drainage and Elevation Differences Between Brick Patio Surfaces
Water already flows off the slab somewhere. The expansion should continue that path instead of blocking it. Pavers set too high on the downhill side can trap water on the slab and send it back toward the house.
Plan the slope across both surfaces together. Water should move away from the house and toward a safe outlet, such as a lawn area, a planting bed, or a drain. On flatter yards, a channel drain or permeable joints may help.
Some slabs sit too high or too low to meet new pavers cleanly. A single step, a short ramp, or a low seat wall can handle the change. On sloped yards, a small retaining wall may be needed to hold the expansion level, and taller walls may need engineering based on soil and height.
Creating Durable Transitions Between Existing Concrete and New Brickwork
Concrete and brick pavers move differently. Concrete expands, contracts, and can shift as a single slab, while sand-set pavers flex as individual units. The joint between them needs to handle that difference.
Common approaches include these.
- A flexible isolation joint between the slab edge and the first row of pavers
- A mortar-set border course along the slab for a firm, clean edge
- A soldier course, with bricks set upright side by side, to frame the transition
- Flush alignment so the two surfaces meet without a lip
Maintenance stays simple with the right setup. Refill joint sand as it washes out, keep weeds out of the seam, and check the transition each year for gaps or settling. Small adjustments now prevent trip hazards later.
Frequently Asked Questions
Can I build around a cracked concrete slab?
Minor hairline cracks are usually fine. Wide cracks, heaving, or sinking sections suggest problems with the base under the slab. Building around a failing slab often means repairing it later anyway. Have the slab evaluated before planning the expansion.
Should the new pavers match the slab height exactly?
Yes, in most cases a flush transition works best. A raised or recessed edge creates trip hazards and can trap water. Base depth should be planned around the slab’s thickness and slope. Your contractor can set grades before any pavers go down.
Will water drain properly between the two surfaces?
It will if the slope across both areas is planned together. The expansion shouldn’t block water coming off the slab. Grading should carry water away from the house toward a safe outlet. Check drainage paths during design, not after installation.
